User Guide
Complete guide for using Fluid Design System for Elementor.
Installation
Install from WordPress.org Plugin Directory:
- In WordPress admin, go to Plugins > Add New
- Search for "Fluid Design System for Elementor"
- Click Install Now and Activate
What is Fluid Design?
Traditional Elementor design requires setting separate values for each breakpoint (mobile, tablet, desktop). This is:
- Rigid: Only specific screen widths are styled
- Time-consuming: Manual updates across multiple breakpoints
Fluid design uses just two values (min and max) that scale smoothly across ALL screen sizes using CSS clamp().
Quick Start
Watch this quick walkthrough of creating fluid presets in Elementor:
Creating Presets
Open Site Settings: Click the ☰ menu (top left) → Site Settings → Fluid Typography & Spacing tab
Create a Typography Preset:
- Click Add Item under Typography Presets
- Label: "Heading Large"
- Min: 24px (mobile), Max: 72px (desktop)
- Click
Save Changes
Create a Spacing Preset:
- Click Add Item under Spacing Presets
- Label: "Section Padding"
- Min: 60px (mobile), Max: 200px (desktop)
- Click
Save Changes
Using Your Presets
Now let's apply the presets we just created:
As shown in the video:
- Select any element (e.g., a heading or section)
- Go to the typography or spacing control
- Click the unit dropdown → Select fluid
- Choose your preset (e.g., "Heading Large" or "Section Padding")
Your element now scales smoothly across all screen sizes!
Inline Fluid Values
Why use inline values? Going back-and-forth to Site Settings is tedious when you just want to experiment with values and see how they look on your design. Inline values let you test fluid values instantly — and if you like the result, save it as a preset immediately.
As shown in the video:
- Select fluid unit in any control
- Enter minimum value in the first field (e.g.,
16px) - Enter maximum value in the second field (e.g.,
108px) - The value scales immediately
The tilde (~) between fields is a visual separator showing the relationship between min and max values.
Preview the min and max
While you're editing a custom value, a Preview row with Min, Max, and Reset buttons appears. Click Min or Max to resize the editor preview to the smallest and largest screen widths of your fluid range and see exactly what the value renders at each end of the scale — without switching Elementor's device mode, so the min/max inputs stay editable. Reset returns to the normal width.
Save as Preset
Want to reuse this value? Click the + button, enter a name, and click Save. Your inline value becomes a preset instantly available everywhere in Elementor.
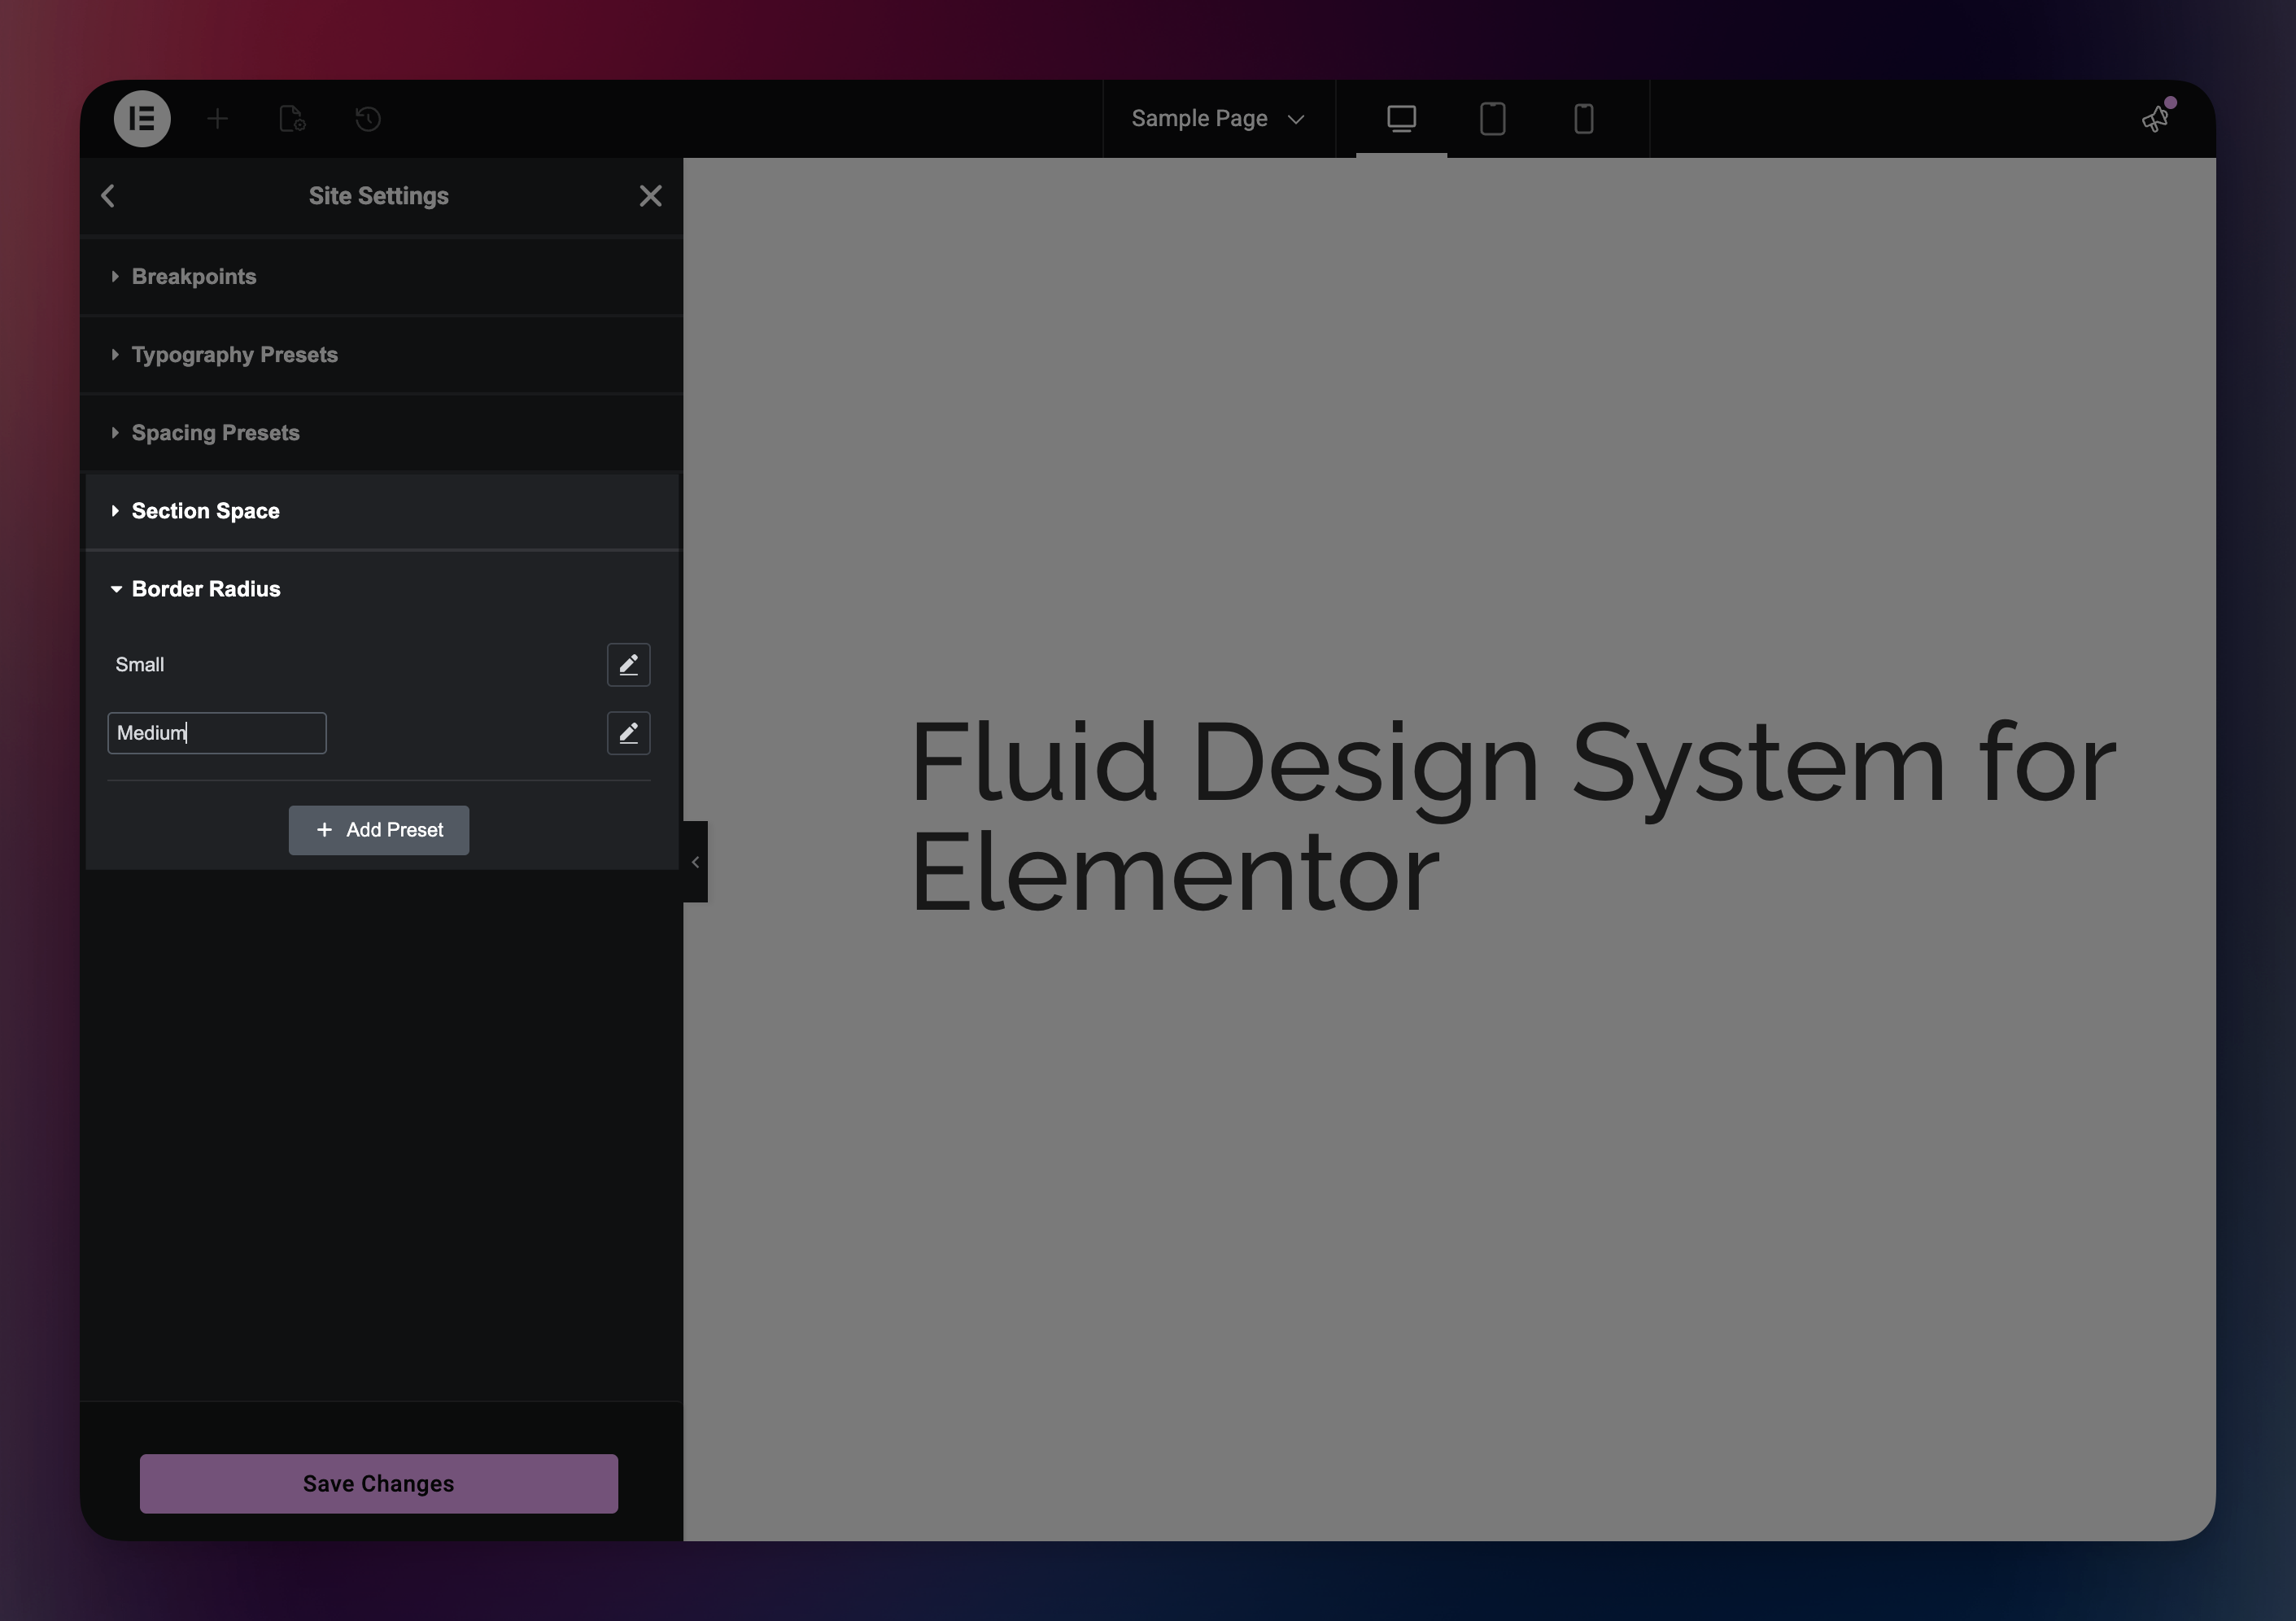
Custom Groups (Admin Panel)
Why use custom groups? As your design system grows, you'll have many presets for different purposes. The default "Typography Presets" and "Spacing Presets" groups become cluttered quickly. Custom groups let you organize presets by purpose — "Section Space", "Grid Gaps", "Border Radius", "Thumbnail Sizes" — keeping everything organized instead of throwing random presets into the default groups.
As shown in the video:
- Navigate to Elementor > Fluid Design System in WordPress admin
- Click Add New Group to create custom groups
- Drag-and-drop to reorder groups (e.g., "Section Space", "Border Radius")
- Drag-and-drop to move presets between groups
- Use search to find specific presets quickly
Need Help?
- 📖 Developer Reference for hooks and filters
- 💬 WordPress.org Support
- 🐛 GitHub Issues